STEREOGEN / DOCS
StereoGen User Guide
StereoGen User Guide
StereoGen is a desktop application for creating single-image stereograms (autostereograms) from a depth map and a texture. Generation runs entirely on your computer. No account is required, and the app does not upload your input images or results to the developer’s servers.
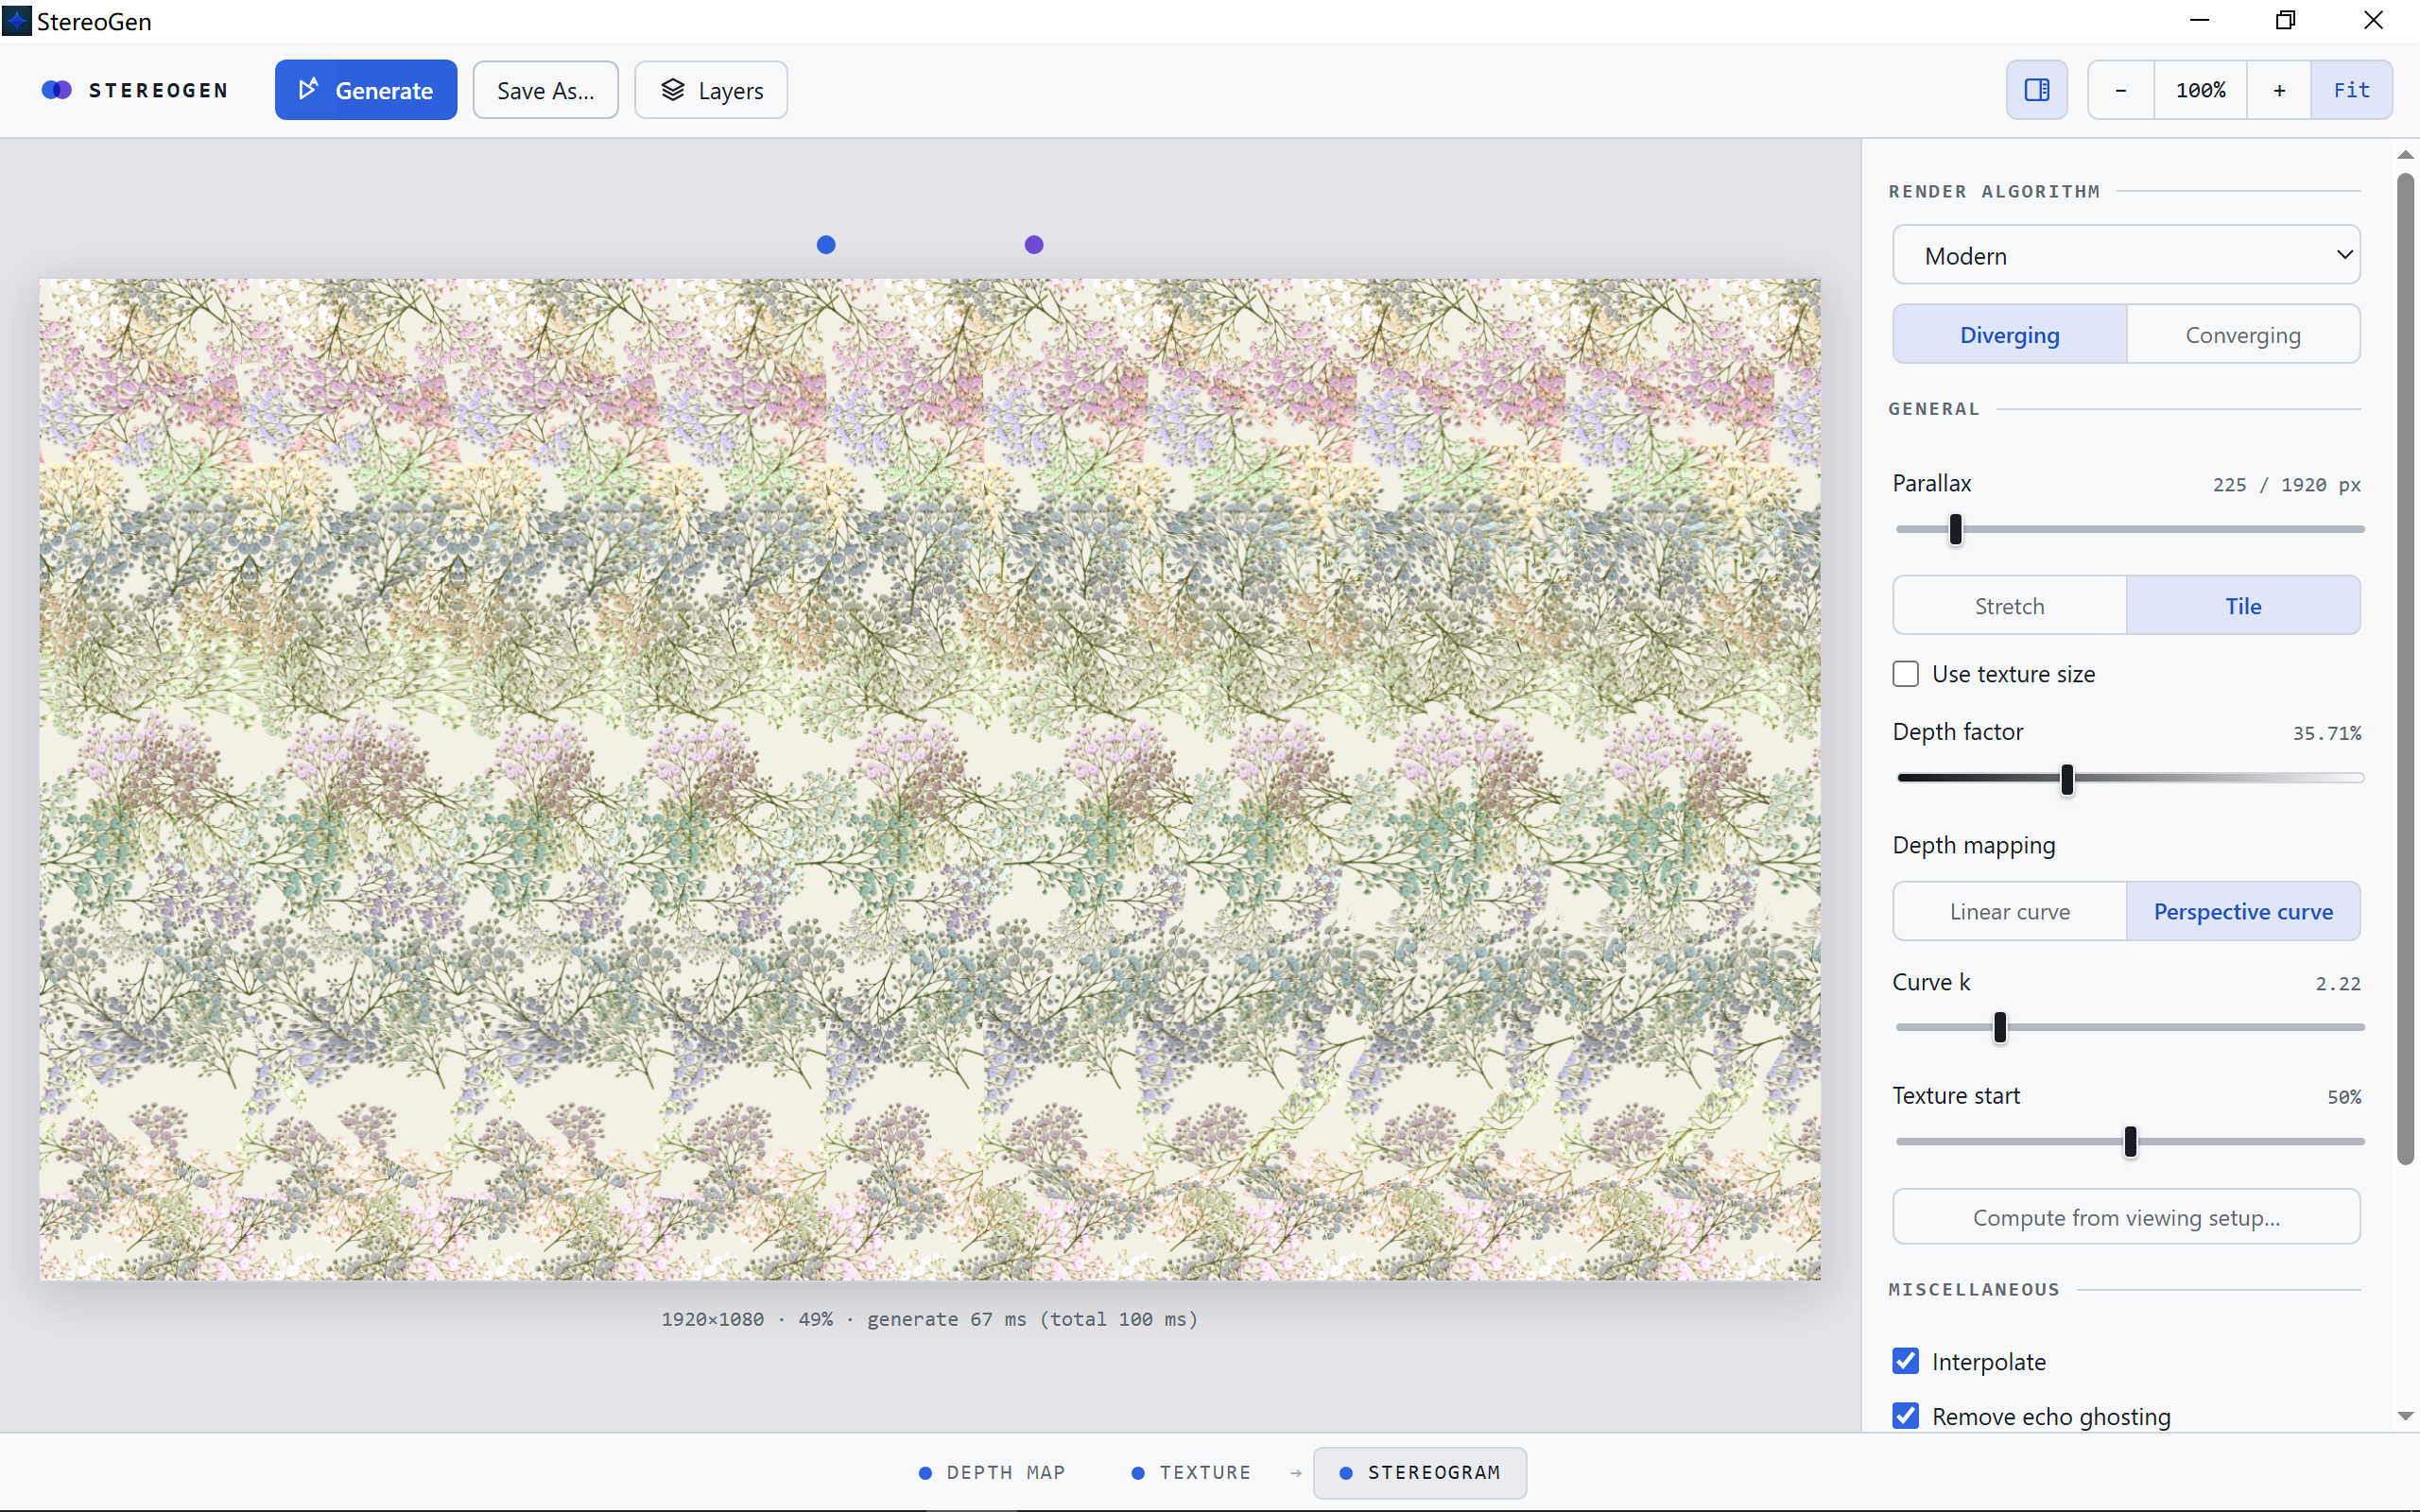
A single-image stereogram generated with the Modern algorithm.
System requirements and installation
- Windows 10 or Windows 11.
- Installation from Microsoft Store is recommended for signed installation and updates.
- The interface uses the system Microsoft WebView2 runtime. Windows 11 normally includes it; follow the Microsoft prompt if installation or an update is required.
After installation, open StereoGen from the Start menu.
Quick start
- Select the Depth Map tab and click Open Depth Map….
- Select the Texture tab and click Open Texture….
- Switch to the Stereogram tab.
- Keep the default Modern algorithm and click Generate.
- Inspect the result with Fit, 100%, minus, and plus.
- Click Save As… to export PNG or JPEG.
You can also drag files into the app. One image loads into the active tab (Depth Map by default). If two images are dropped together, the first becomes the depth map and the second becomes the texture.
Interface examples
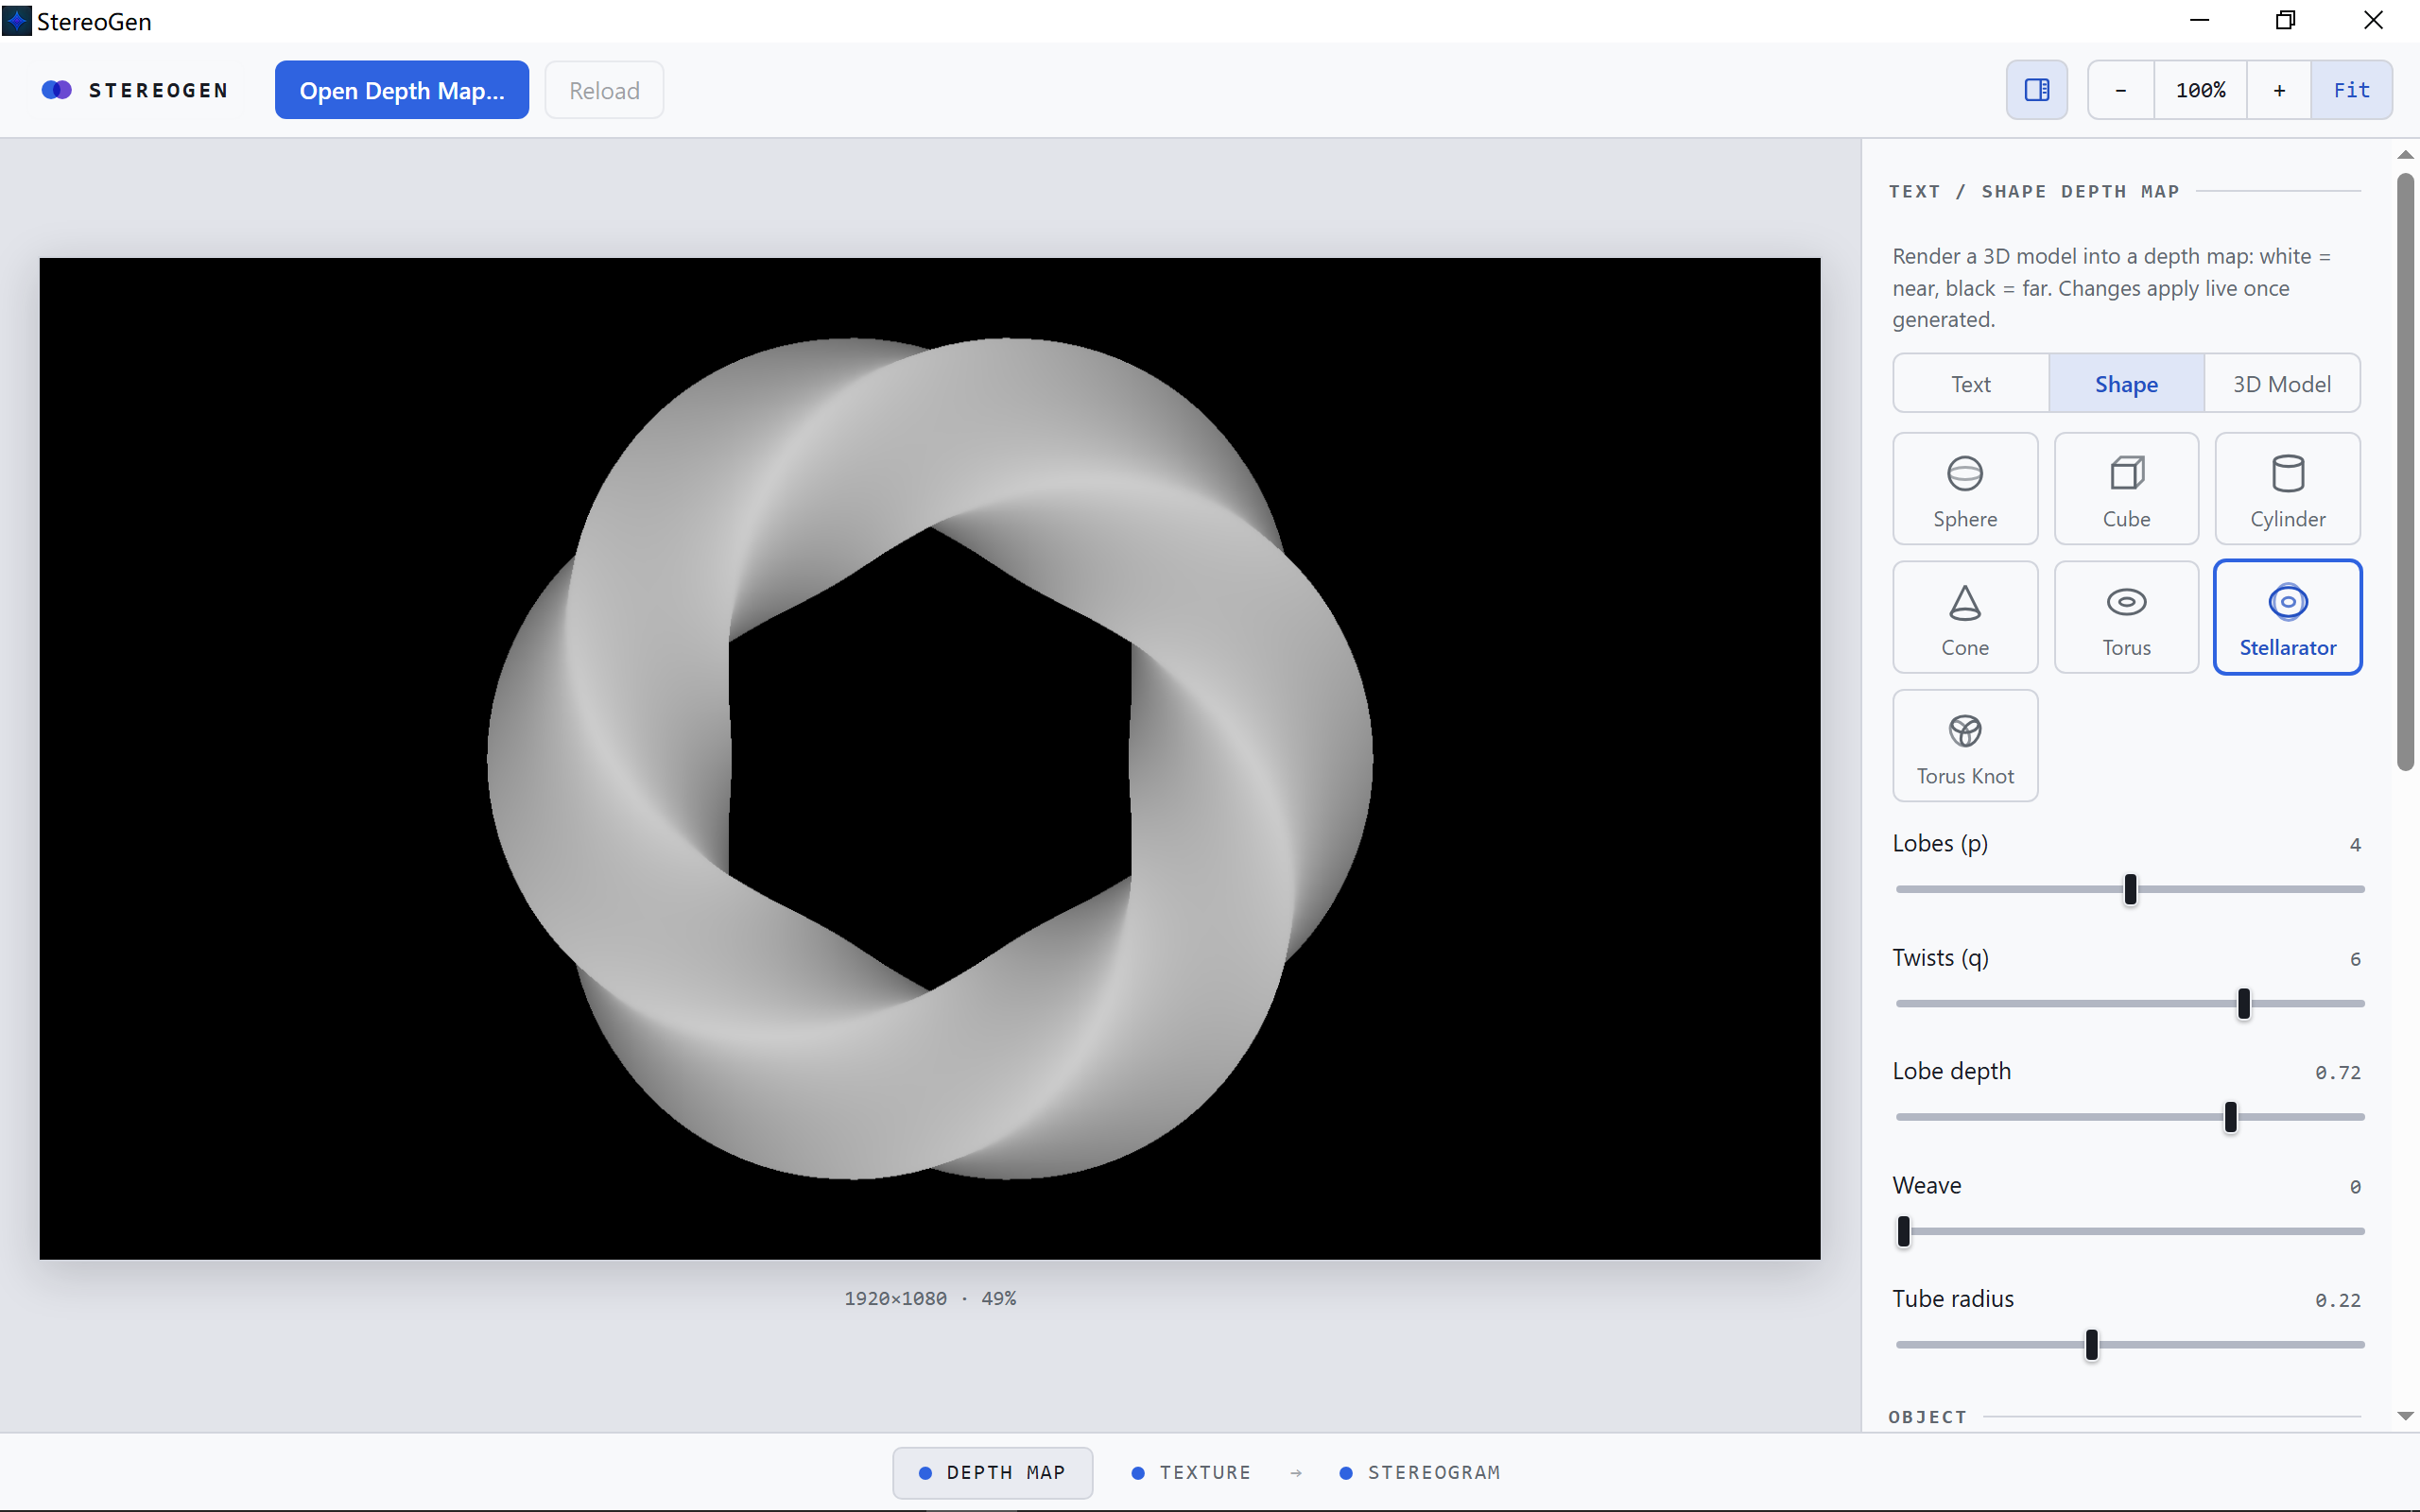
The Depth Map tab can open an image or generate depth from text, shapes, and models.
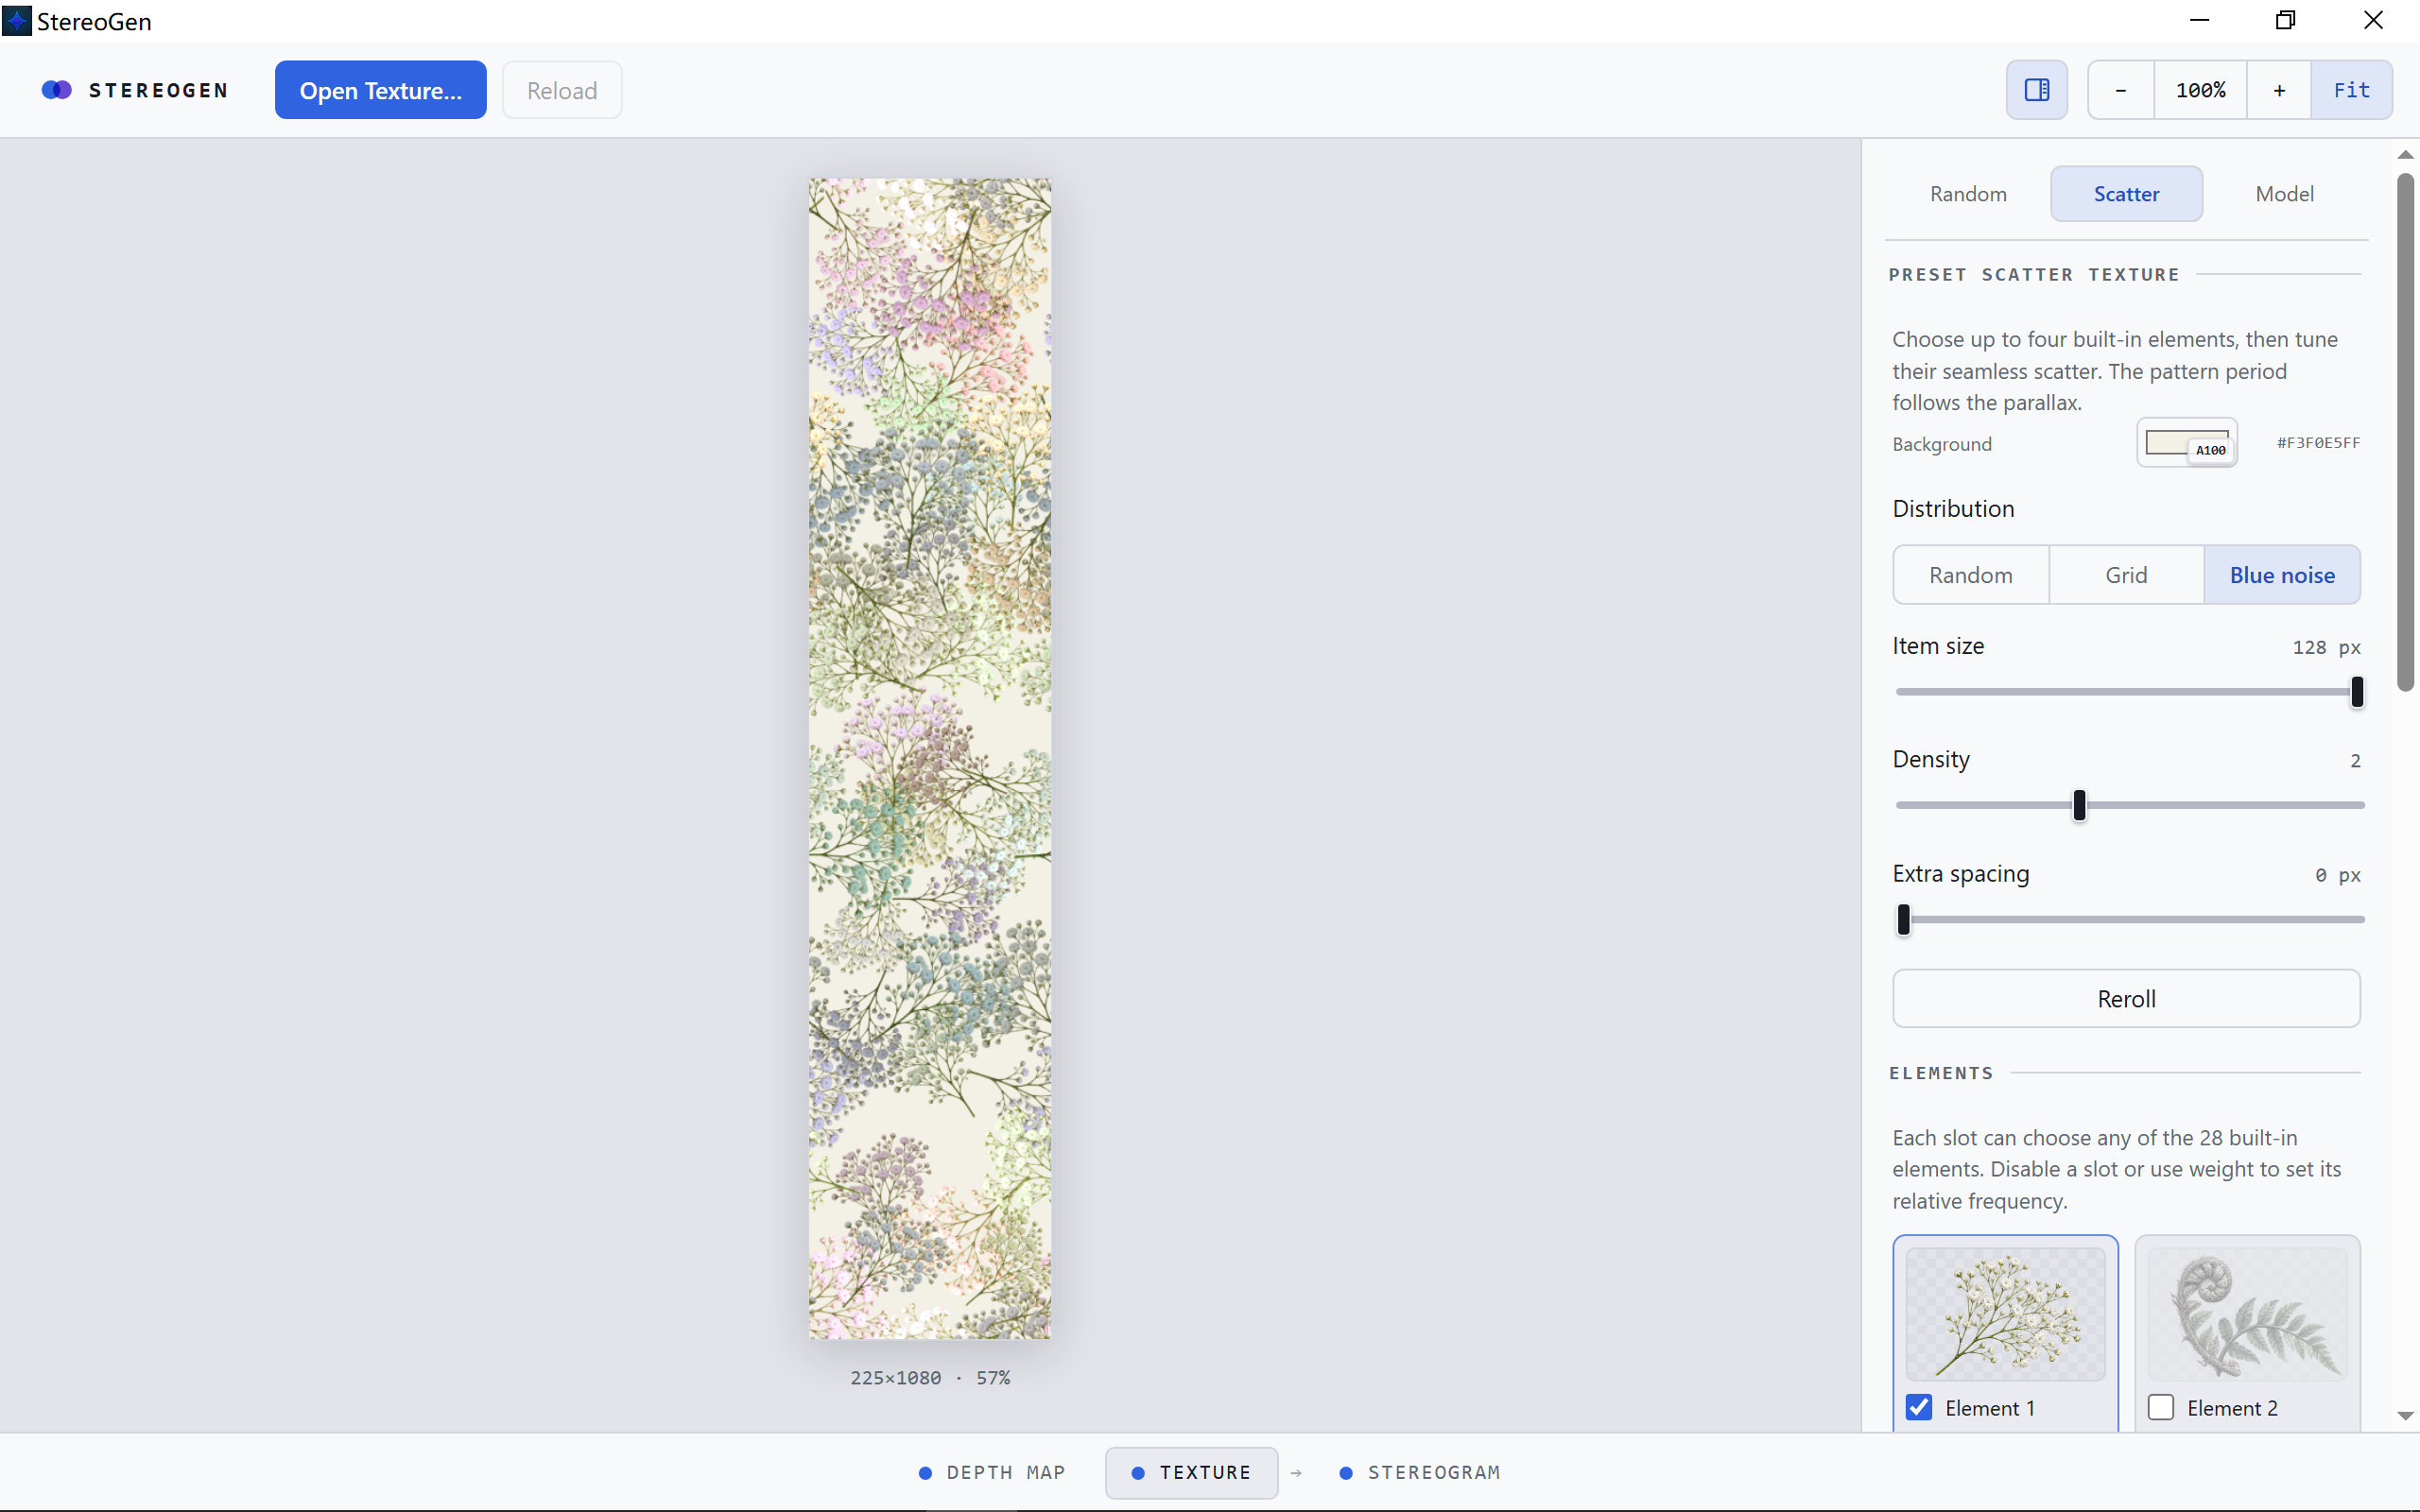
The Texture tab can open an image or generate Random, Scatter, and Model inputs.
Preparing input images
Depth map
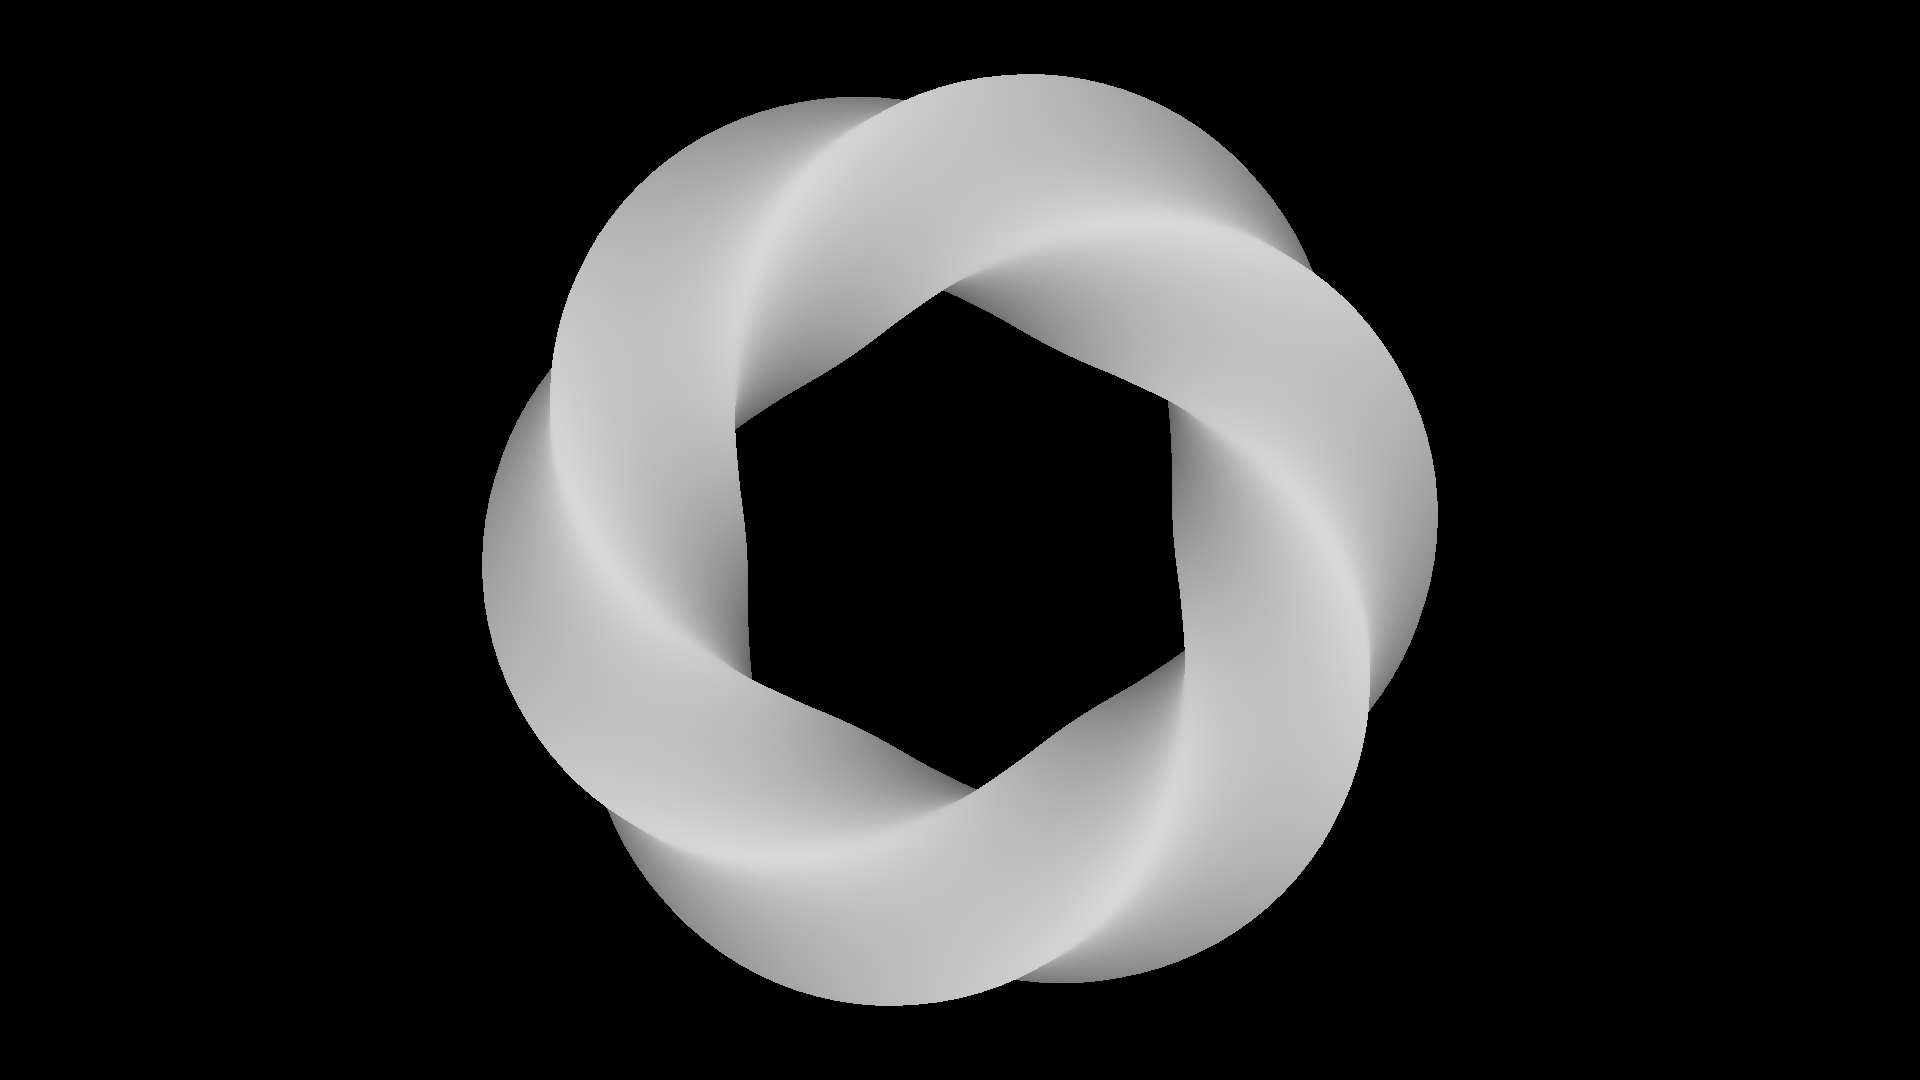
A depth map encodes distance in luminance or a selected color channel. In a typical map, black is farther away, white is nearer, and gray represents intermediate depth. Clean edges and smooth gradients generally produce stable results.
Texture
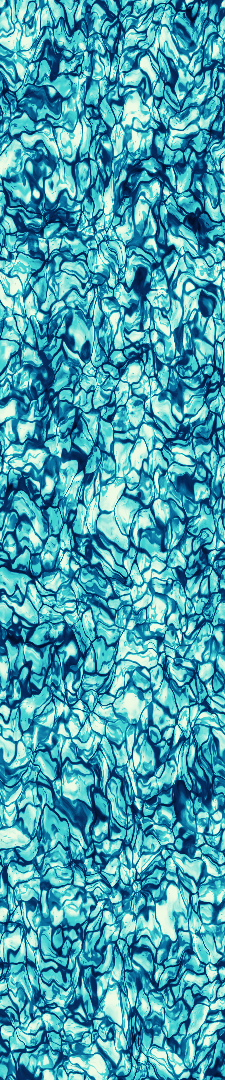
The texture is the pattern repeated to conceal the depth structure. Detailed, moderately contrasted, seamless textures are usually easiest to view. Large flat areas or very strong edges can make the repetition more obvious.
Supported formats
Inputs may be PNG, JPEG, BMP, GIF, or TGA. TIFF is not currently supported. Outputs can be saved as PNG or JPEG. Use PNG when transparency must be retained.
For a first test, use depth-map.png
and texture.png from this repository.
Generating inputs inside the app
Version 0.2.0 expands the configuration panels beside the Depth Map and Texture tabs. A straightforward piece can now stay inside StereoGen from model input and depth/appearance rendering through final composition:
- The Depth Map panel can extrude text into a mesh, use a built-in geometric mesh, or load an external OBJ/GLB/GLTF model. Controls cover font and style, extrusion, bevel, rotation, margin, blur, depth range, canvas size, and background depth.
- The Random Texture panel creates black-and-white, grayscale, color, or palette dot textures with density, dot size, color, contrast, saturation, and seed controls.
- The Preset Scatter panel mixes botanical, coral, feather, ink, and other supplied elements. It provides distribution, density, spacing, scale, rotation, opacity, flip, and color-randomization controls.
- After the current depth map is generated from a 3D model, a Model tab appears in the Texture panel. It inherits the model, rotation, placement, and canvas from the Depth Map panel and exposes only non-depth output settings: transparent outline thickness/color, a flat material color, or the model’s own texture with a fallback color. The result stays pixel-aligned with the depth map.
External models, text, and built-in shapes share the same placement, depth, and canvas controls. The example model file is not distributed with the documentation.
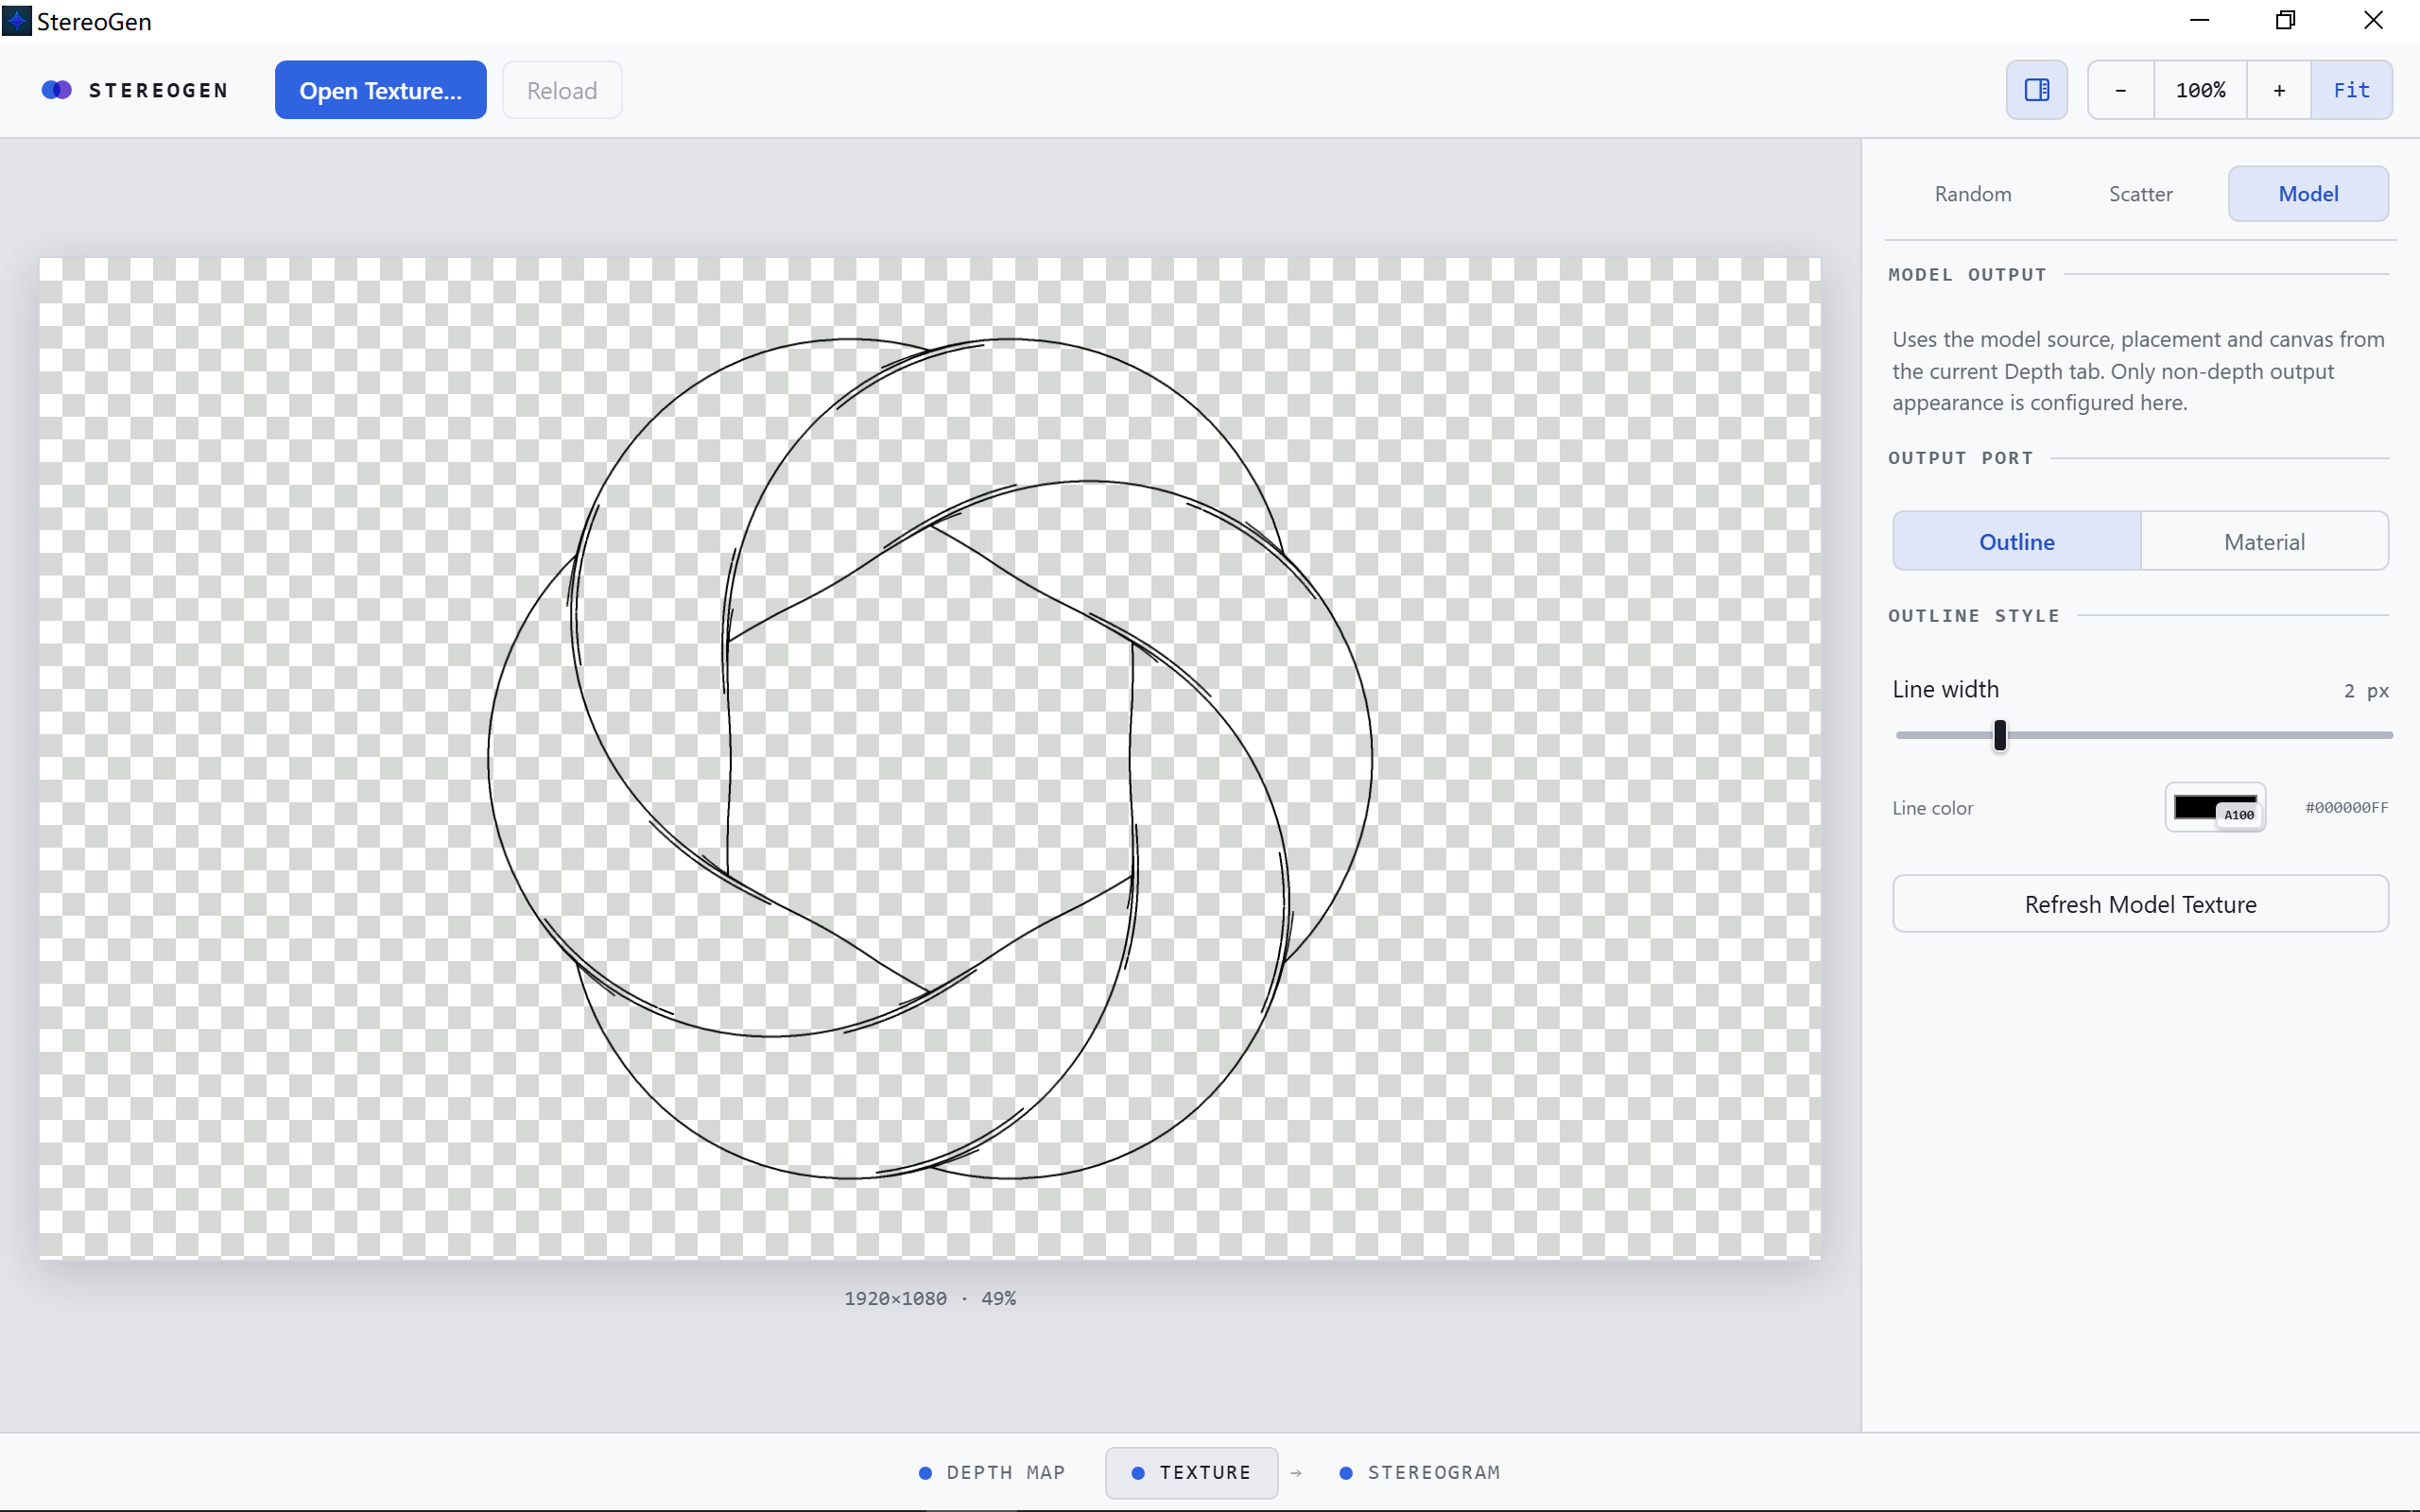
The Model tab can render a transparent outline that remains strictly aligned with the generated depth map.
Model material output can use a flat color or the GLB base-color texture, with a fallback color for faces that have no material data. Random provides multiple color schemes, while Scatter can combine up to four built-in elements under shared distribution and variation controls.
Panel settings are retained locally. Use Reroll to select a new random seed. Generated inputs enter the current single-image workflow directly, without an intermediate save step.
When a built-in texture is successfully generated and committed to the Texture slot, the app selects the compatible render algorithm for that event: Modern for Random or Scatter, and Mapped Texture for Model outline/material output. This is not a persistent binding. You may select another algorithm afterward; the automatic choice runs again only after another successful texture generation.
Render algorithms
| Algorithm | When to use it |
|---|---|
| Modern | Recommended general-purpose mode for most depth maps and textures. |
| Classic Left-to-Right | Generates with the classic left-to-right propagation rule. |
| Classic Right-to-Left | Reverses classic propagation for comparison or a different edge behavior. |
| Mapped Texture | Uses a pixel-aligned texture/material map; both inputs must have identical dimensions. |
If you are unsure, start with Modern. Click Generate again after changing an option, or enable Generate automatically to refresh after changes.
Viewing modes
Diverging (parallel or wall-eyed)
Relax your eyes as if focusing behind the display. When the two guide dots appear as three, keep that eye position and slowly move your attention down to the stereogram.
Converging (cross-eyed)
Focus in front of the display so your eyes cross slightly. When the two guide dots appear as three, keep the alignment and examine the image below.
If depth appears reversed, switch between Diverging and Converging. For easier practice, reduce Parallax, move slightly farther from the display, and avoid forcing focus for long periods. Stop and rest if you experience eye discomfort.
General options
- Parallax controls repeat spacing and depth strength. Increase it gradually; large values can be difficult to fuse.
- Stretch / Tile controls how the texture covers the output.
- Use texture size uses texture width as the repeat size and disables manual Parallax.
- Depth factor controls the amount of depth displacement. Lower values are easier to view.
- Depth mapping selects the original StereoGen linear curve or a perspective convex curve, which allocates less change to far depths and more detail to near depths.
- Curve k applies only to the perspective curve. Smaller
kproduces more curvature; largerkapproaches the linear mapping. - Texture start positions the texture at the start of the Modern repeat cycle.
- Interpolate smooths image sampling and is normally left enabled.
- Remove echo ghosting reduces repeated silhouette artifacts.
- Remove noise cleans isolated noise in the result.
- Depth channel reads depth from Luminance, Red, Green, Blue, or Alpha. Luminance is suitable for ordinary grayscale maps.
Use Reset to defaults to restore render settings. Options are stored locally in the application configuration directory for the next launch.
Computing a perspective curve from viewing conditions
Expand Compute from viewing setup… in General options and enter screen DPI,
eye separation, viewing distance, far depth, and near depth. StereoGen calculates
Parallax, Depth factor, perspective Curve k, and the far/near separation for
that physical setup. Select Apply to options to apply all three render values.
This calculator is new in 0.2.0. It does not alter the input images; it translates physical viewing geometry into render parameters.
Perspective Convex mapping and the viewing calculator use the same near/far stereo geometry.
Parallax, Depth factor, and S
StereoGen uses S for the maximum pixel displacement from the far endpoint
to the near endpoint. In other words, S = far separation - near separation.
It is not Parallax P itself; it is calculated from Parallax and Depth factor:
P = Parallax in pixels; it is also far separation
f = Depth factor as displayed in the UI, for example 35
F = f / 100, so 35% → 0.35

S               = (P - 1) × F
far separation  = P
near separation = P - S
When Use texture size is enabled, P in these formulas is the texture
width rather than the disabled manual Parallax value.
For example, with P = 100 px and Depth factor 35%:
S               = (100 - 1) × 0.35 = 34.65 px
far separation  = 100 px
near separation = 100 - 34.65 = 65.35 px
The 1 in P - 1 is part of the original StereoGen formula. Consequently,
even a 100% Depth factor leaves a 1 px near separation instead of reducing it
to zero. The calculation may produce fractional pixels; sampling and interpolation
handle them during generation.
For a normalized depth-map value t (0 for far/black and 1 for near/white),
the linear mapping is:
current displacement s(t) = t × S
current separation D(t)   = P - s(t) = P - t × S
The perspective convex curve uses the same S, so its endpoints remain P
and P - S. The k parameter only redistributes intermediate depths between
those endpoints: changing k changes the displacement assigned to mid-gray
values, not the maximum depth range. Diverging and Converging modes reverse the
scanline displacement direction but do not change the magnitude of S.
Mapped Texture mode
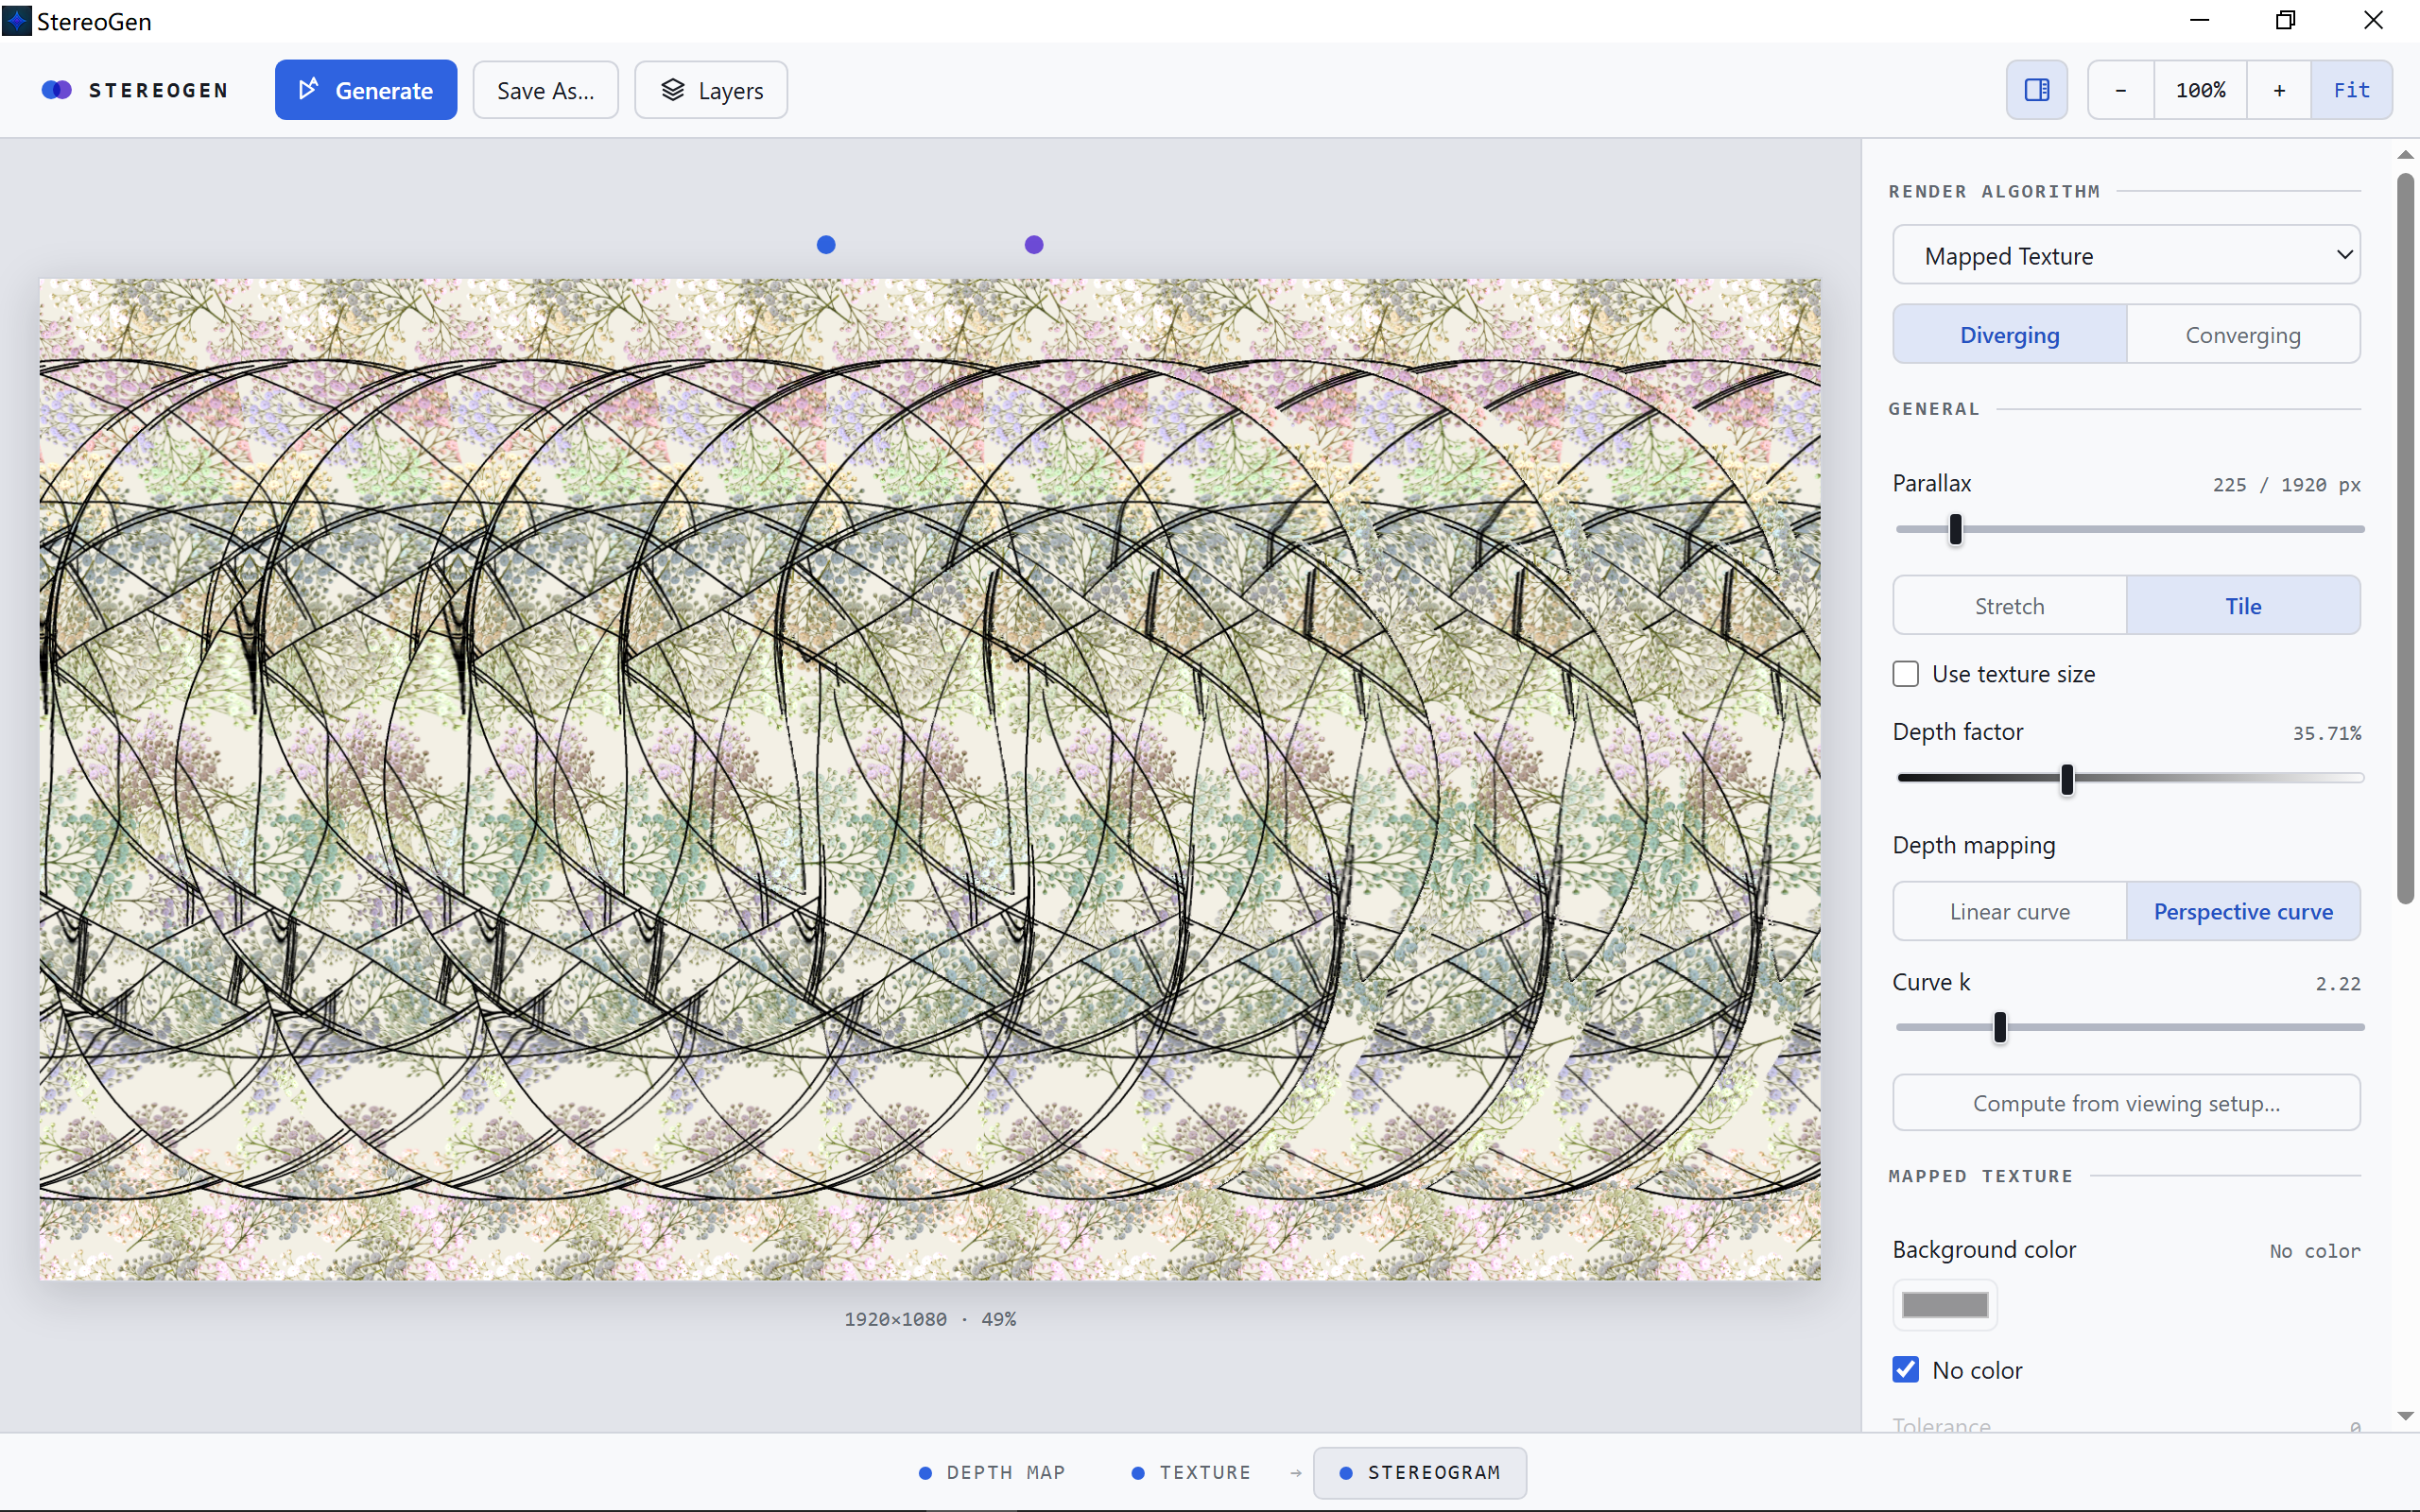
Mapped Texture is designed for material maps and inputs with transparent areas. The depth map and texture must have exactly the same pixel dimensions.
- Background color sets the color used outside the mapped texture.
- No color creates a transparent background; export as PNG.
- Tolerance controls how closely a pixel must match the background color.
- Clear background removes matching pixels using the background color and tolerance.
- Auto fill canvas repeats scatter/gather passes until no new pixels are written or the safety limit is reached.
- Repeat count manually controls the number of passes when auto fill is disabled.
Use material-map.png for a
Mapped Texture test.

A transparent model outline suitable for Mapped Texture input.
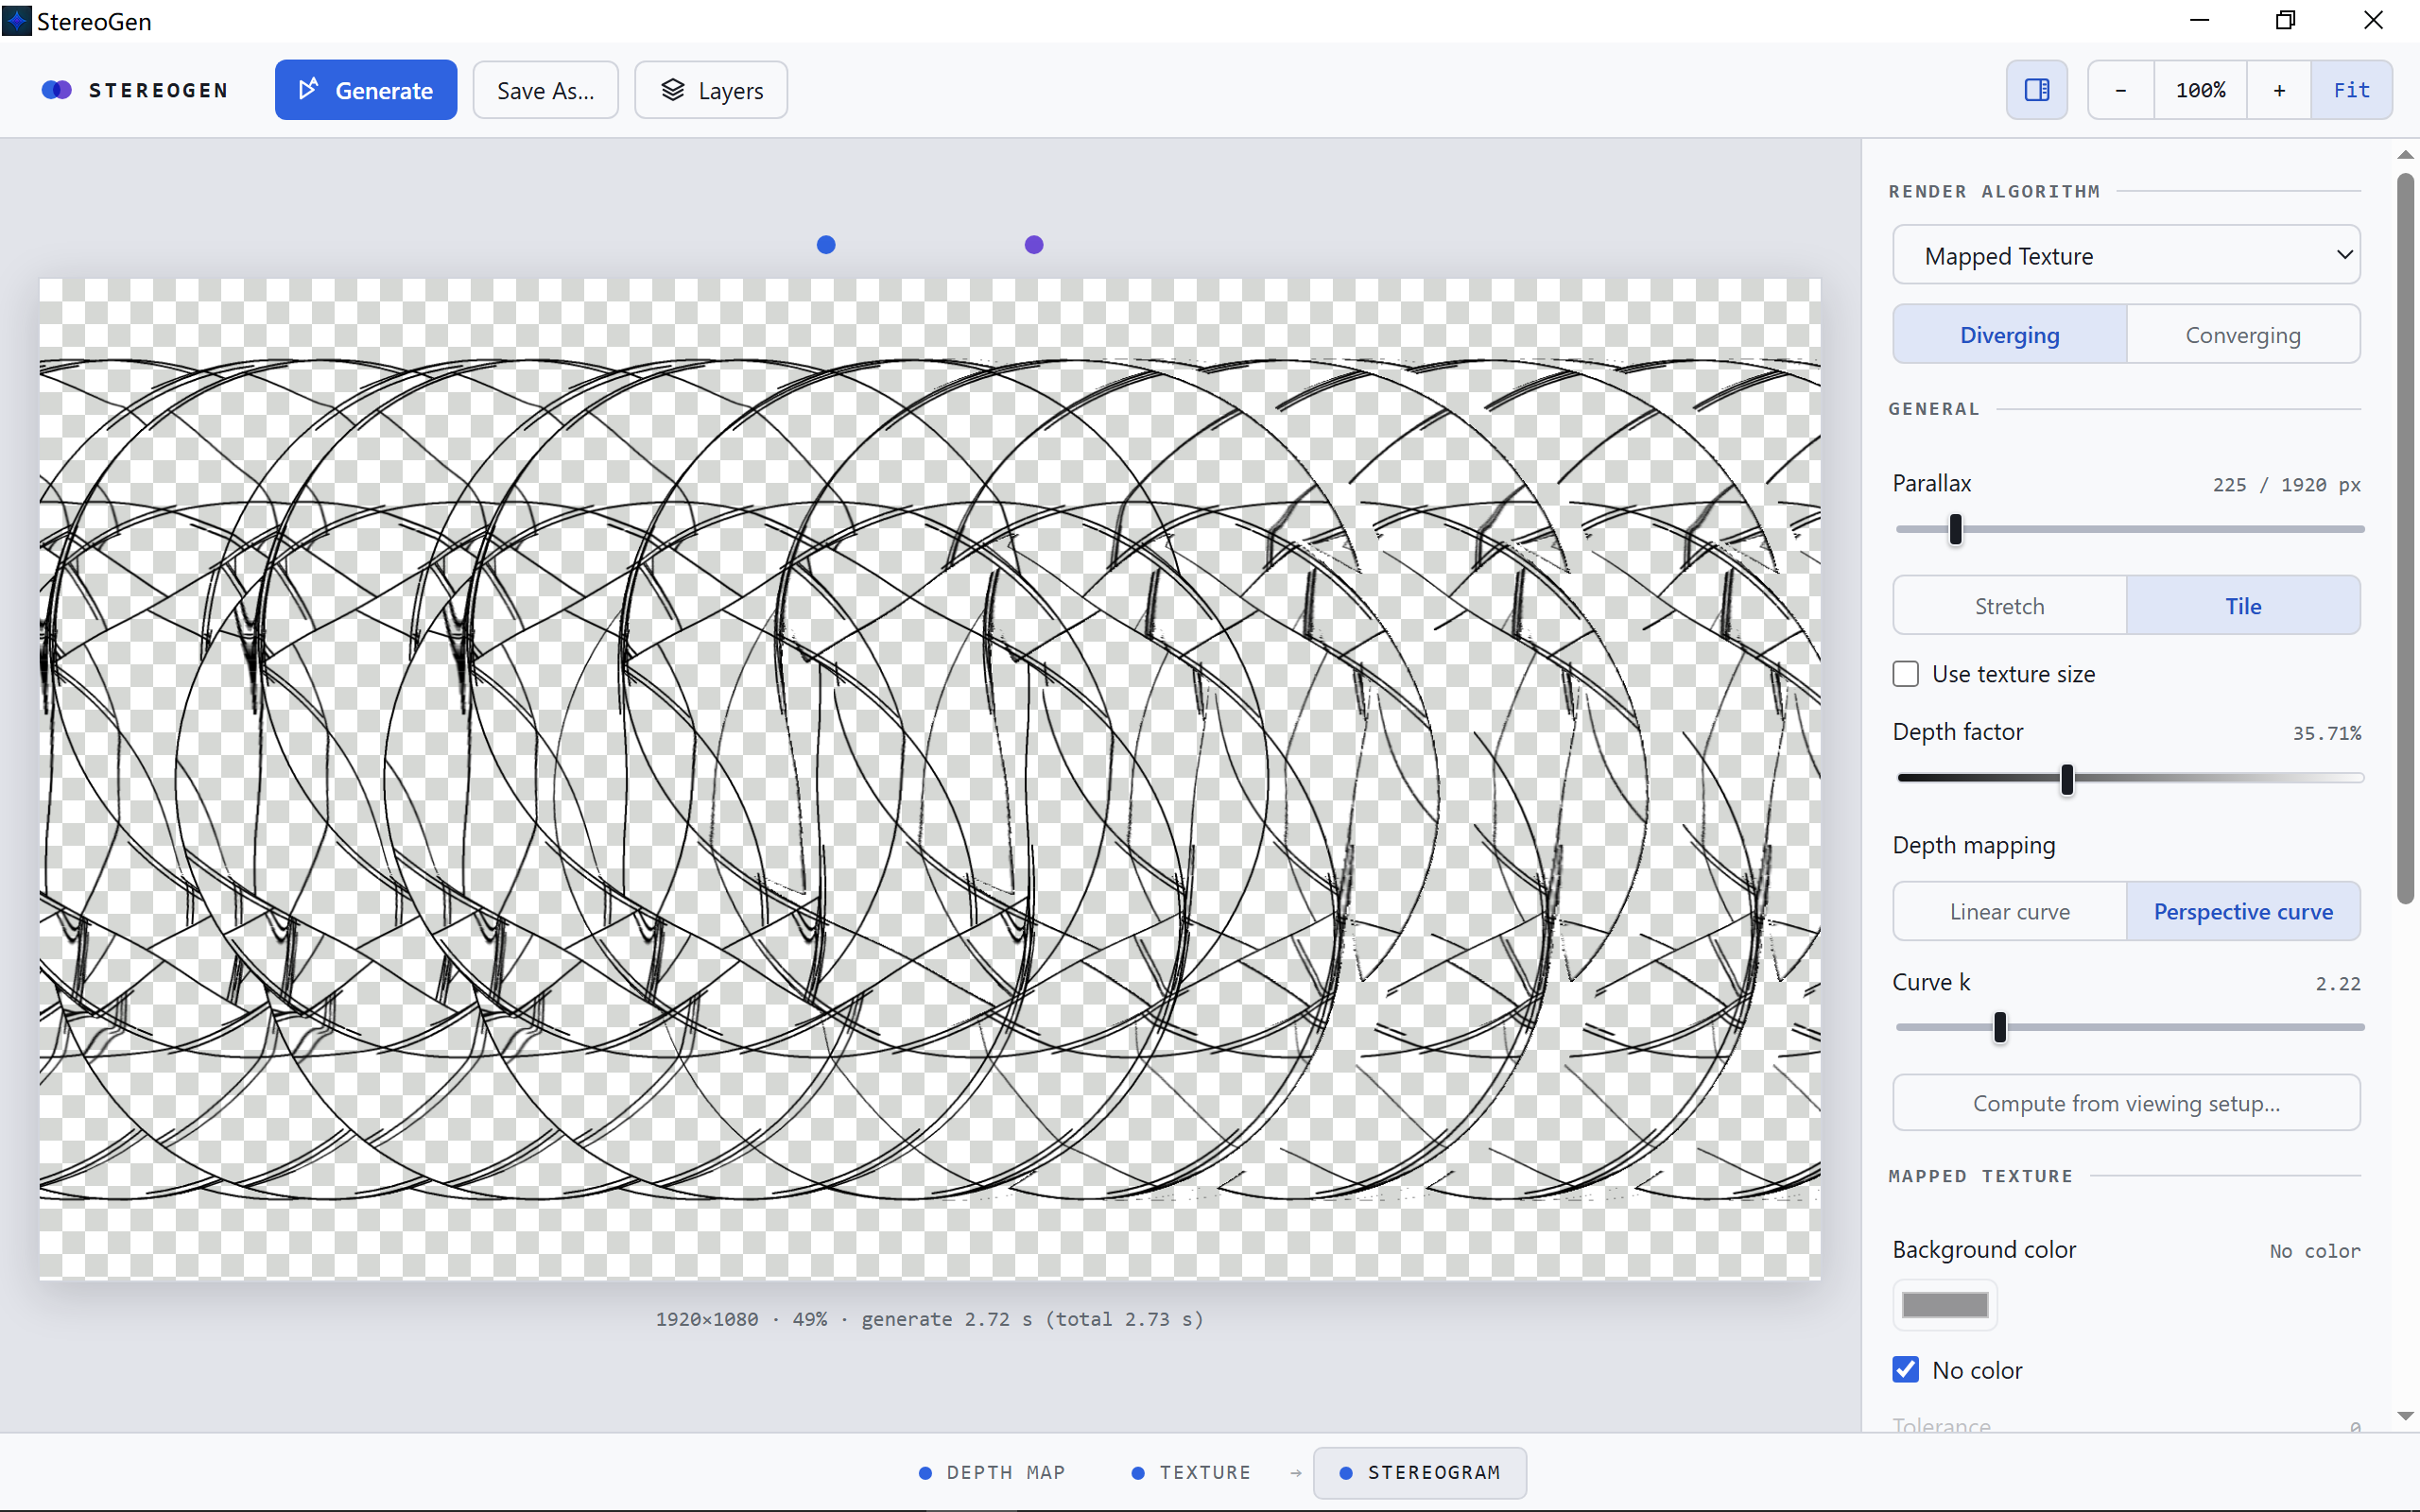
A Mapped Texture result; transparent areas appear over the checkerboard.
Preview and export
- − / + zooms the preview out or in.
- 100% displays actual pixels.
- Fit fits the image inside the current window.
- Save As… saves the most recently generated result.
- Layers keeps the current result or opens an image for alpha compositing.
Preview zoom does not change the exported image dimensions.
Compositing result layers
The Layers popover is in the Stereogram preview toolbar. A typical workflow for placing a Mapped Texture result over a regular stereogram is:
- Generate the first result, open Layers, and choose Keep Current.
- Change the depth map, texture, or algorithm and generate the other layer.
- Open Layers again, arrange the layers from top to bottom, enable the layers you need, set each Blend and Alpha value, and click Composite.
Composition follows the list strictly from top to bottom: the first row starts the result, and each following row is applied over the accumulated image. The Current placeholder is at the bottom by default; new layers are inserted just above it, and every row can still be reordered with the arrow buttons.
To place an outline or model material over a base stereogram, put the base stereogram in the first row and the mapped-texture overlay in a later row, then adjust the overlay Alpha. The list represents calculation order; it is not the traditional visual stack in which the topmost row is painted last.
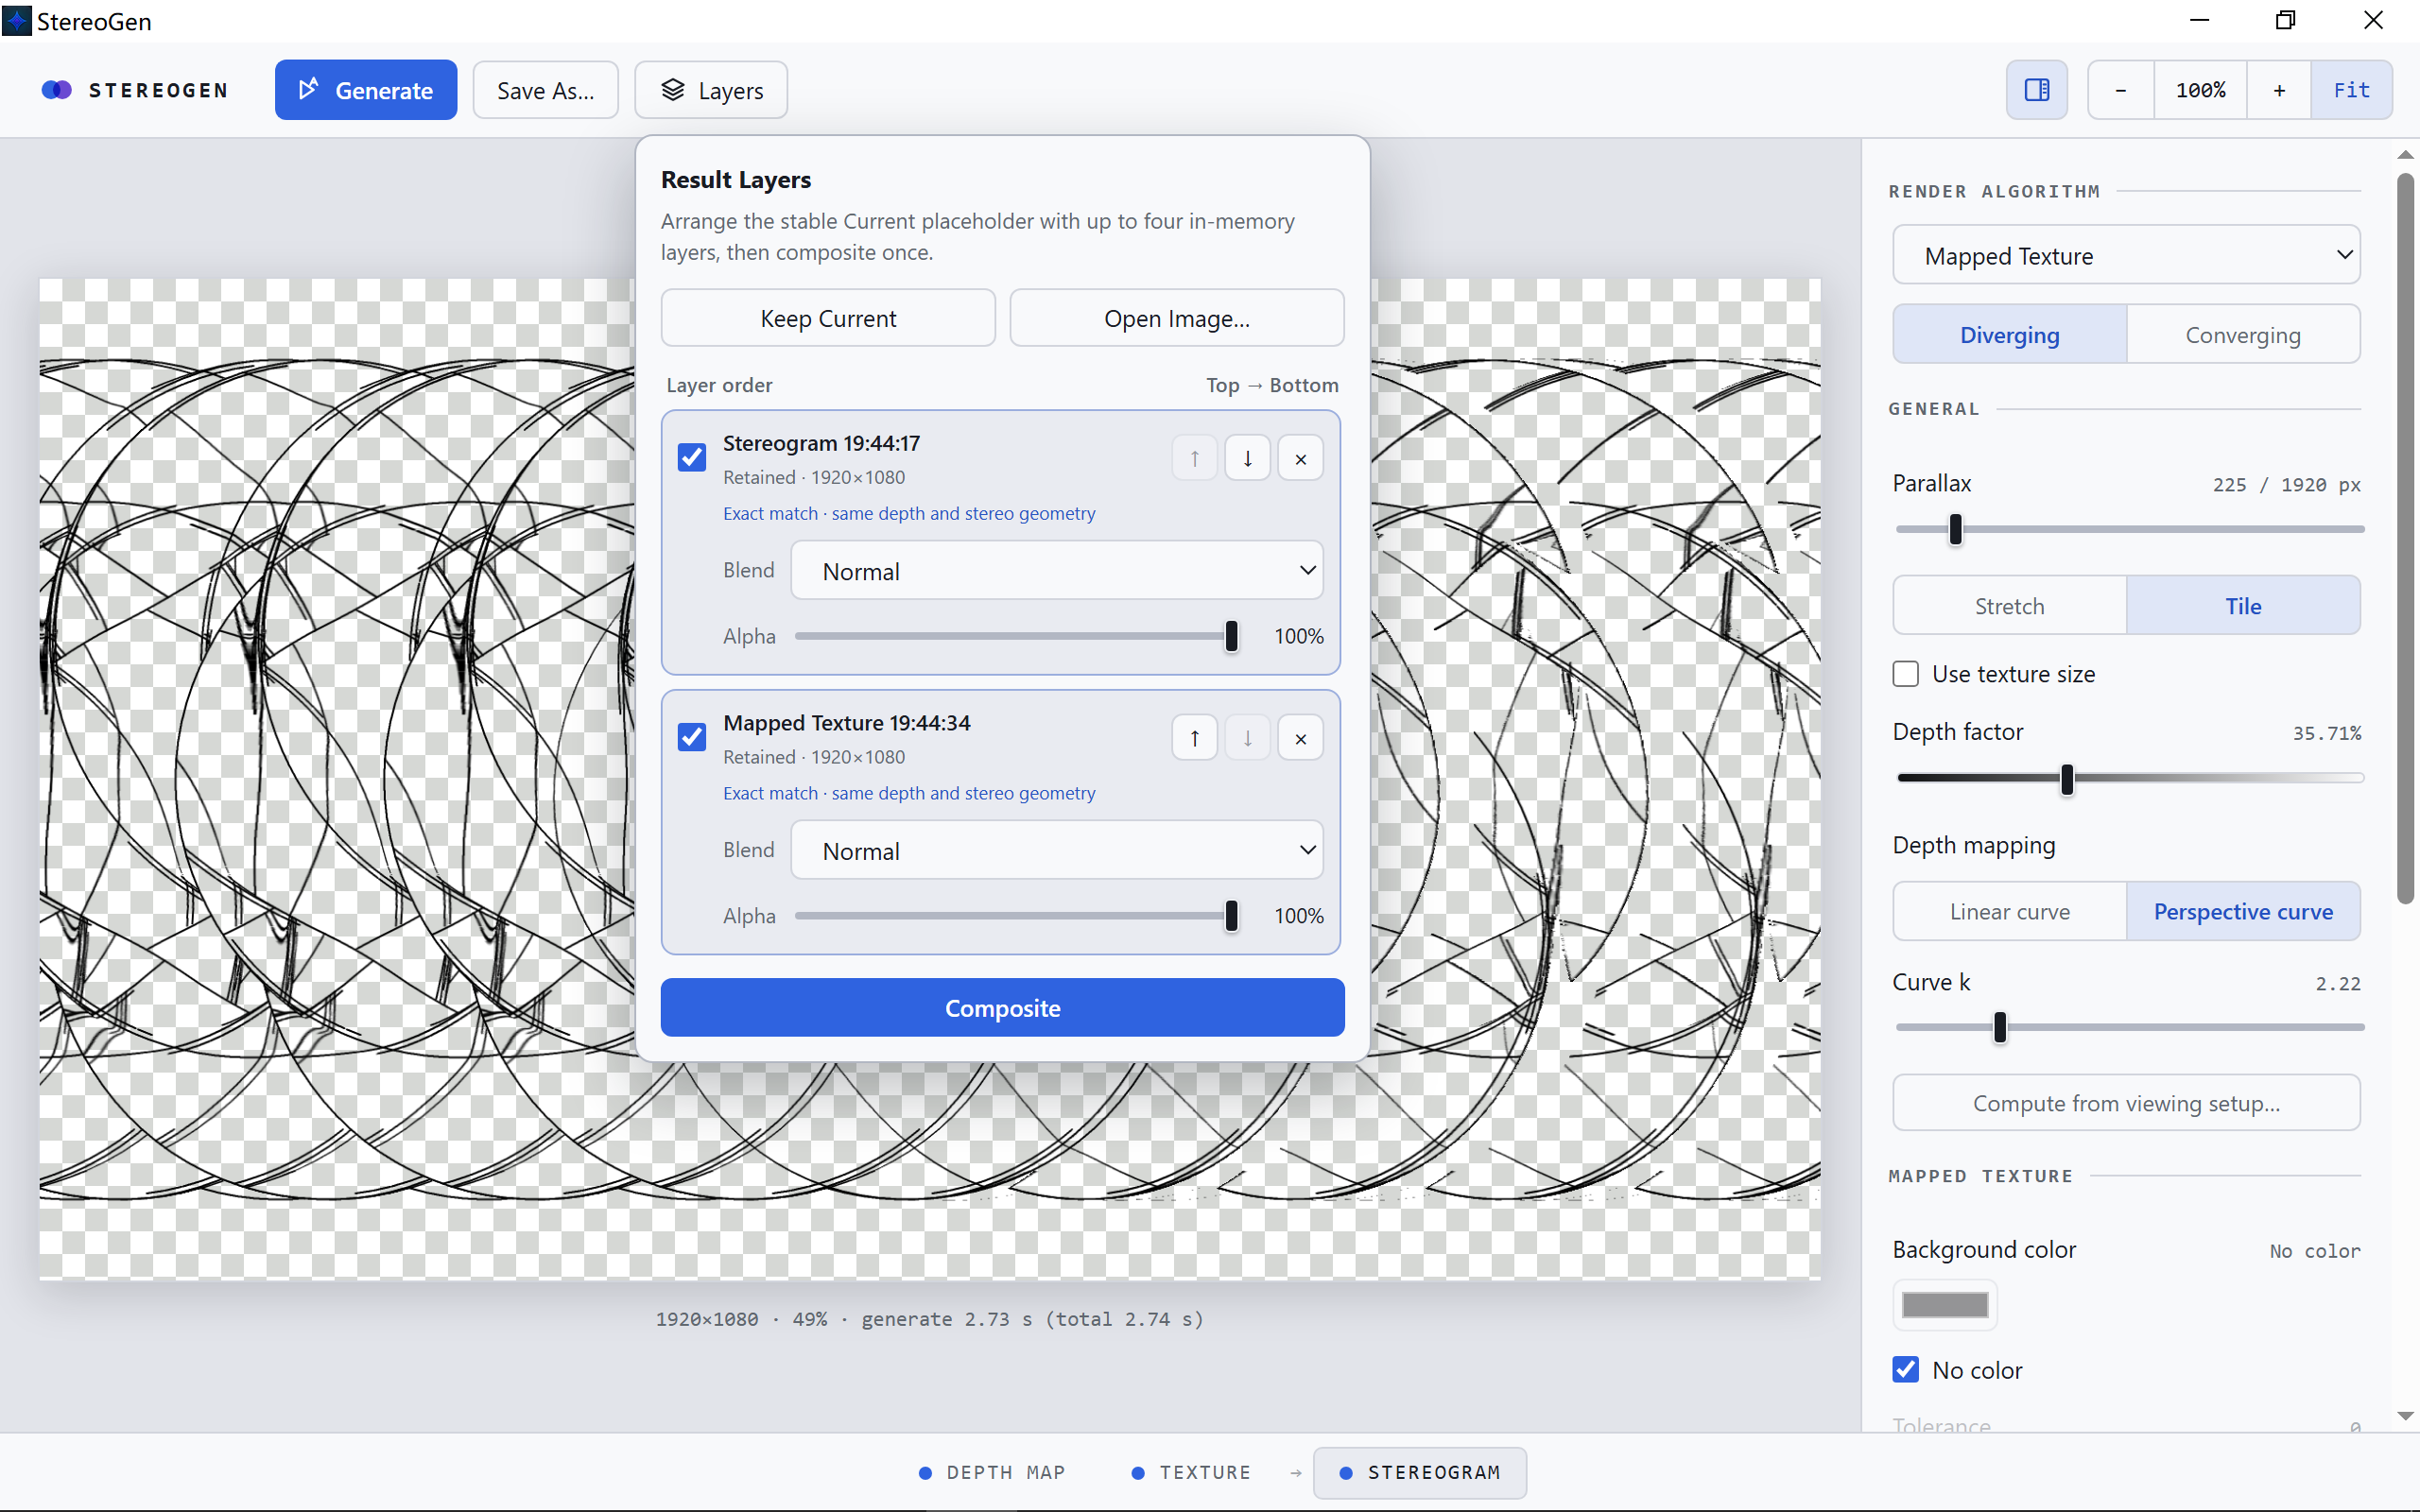
This example starts with the base stereogram and then applies the retained Mapped Texture result.
Each enabled layer supports Normal, Multiply, Screen, Overlay, Darken, Lighten, and Difference blending. These use Web/W3C-style channel compositing. The first row starts on a transparent canvas, and each following row is added with its selected mode.
After Keep Current is used on a regular Stereogram or Mapped Texture result, the identical Current placeholder is removed to avoid showing the same image twice; it returns after the next generation. When the preview is already a composite, the button reads Keep Result and retains a new Composite-labeled layer without removing the original base placeholder.
The app keeps up to four layers in memory and does not write them to disk when it exits. Open Image… can add any user-selected image with matching dimensions. The popover distinguishes Exact, Geometry, Constraint-mismatch, and Size-only matches. A Geometry match may use a different depth map. Symmetric and asymmetric algorithms offset their content, so mixing their results shows a constraint warning. A Size-only match can still be composited, but stereo alignment is not guaranteed. Different image dimensions are rejected. The Current placeholder remains stable until the next generation, so order and Alpha can be adjusted repeatedly without stacking the previous composite again. Export the result with Save As…, or retain it as a new layer labeled Composite.
Simple overlays can be completed in StereoGen. Export PNG layers to Krita, Photoshop, or another editor when you need masks, local adjustments, or an unlimited persistent layer stack.
Language
Open the top-left StereoGen application menu → Settings…, then choose an option under General → Language:
- Auto (system)
- English
- 中文
The change applies immediately and is saved automatically with the other global preferences.
Troubleshooting
“No depth map loaded” or “No texture loaded”
Open both input images before generating. The bottom tabs show which image is active.
Mapped Texture reports different dimensions
Crop or resize the depth map and texture to exactly the same width and height, then open them again.
The stereogram has no visible depth
Start with the default Modern and Diverging settings, lower Parallax and Depth factor, and practice with the test assets. First stabilize the guide dots as three dots, then move your attention down to the image.
The result is noisy or has repeated silhouettes
Enable Interpolate, Remove echo ghosting, and Remove noise; reduce Depth factor; or choose a texture with a more even distribution of detail.
A transparent result saves with a solid background
Select No color in Mapped Texture mode and save as PNG. JPEG does not support transparency.
Privacy
StereoGen reads only the images you explicitly open and saves results only to a location you choose. See the Privacy Policy.
Reporting a problem
Include the StereoGen version, Windows version, render algorithm, viewing mode, important options, input formats and dimensions, the complete error message, and the smallest sample files that reproduce the issue. Do not upload private images or unpublished artwork unless you intend to share them.